Showing posts with label Halloween. Show all posts

Tuesday, December 14, 2021

How-to make a Nightmare Before Christmas Wreath for your Dollhouse


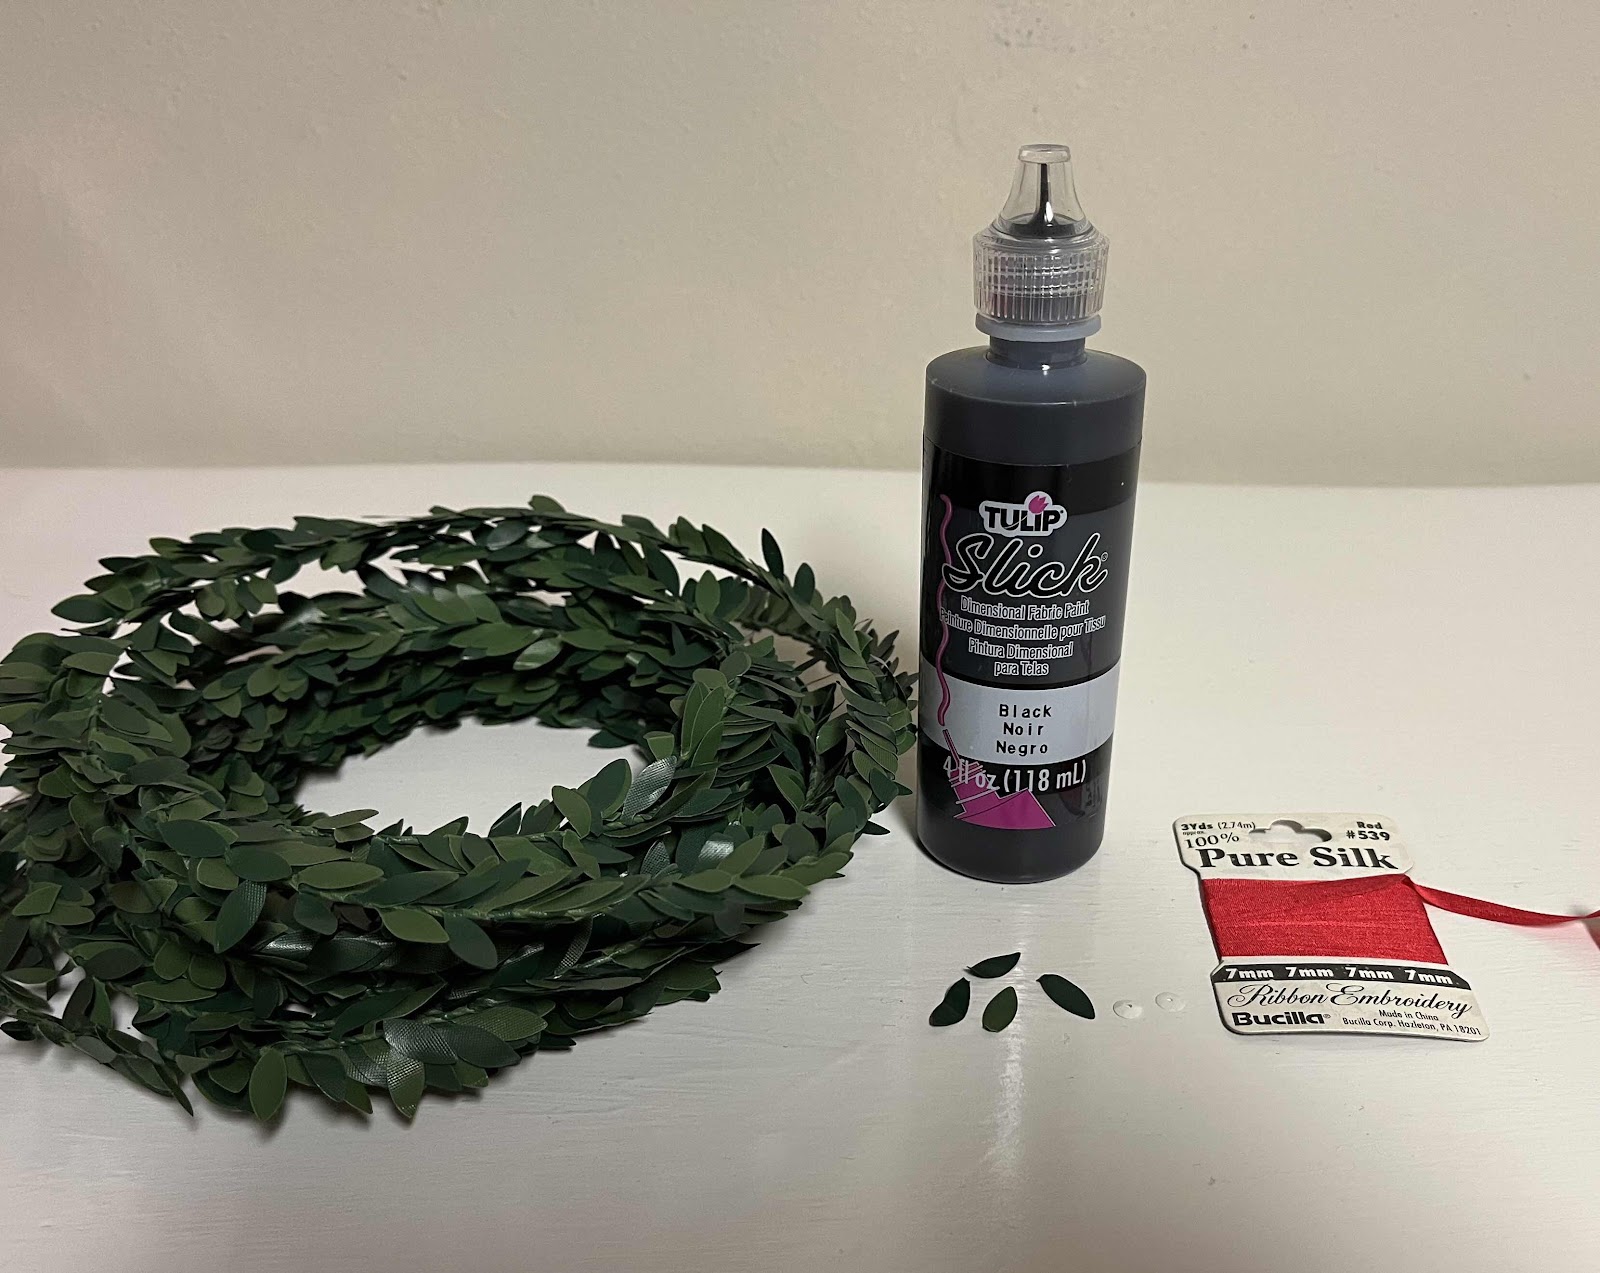
Supplies:
Glue
Slick black fabric paint
Two white sequins 
Mini garland 
6 pieces of leaves from mini garland 


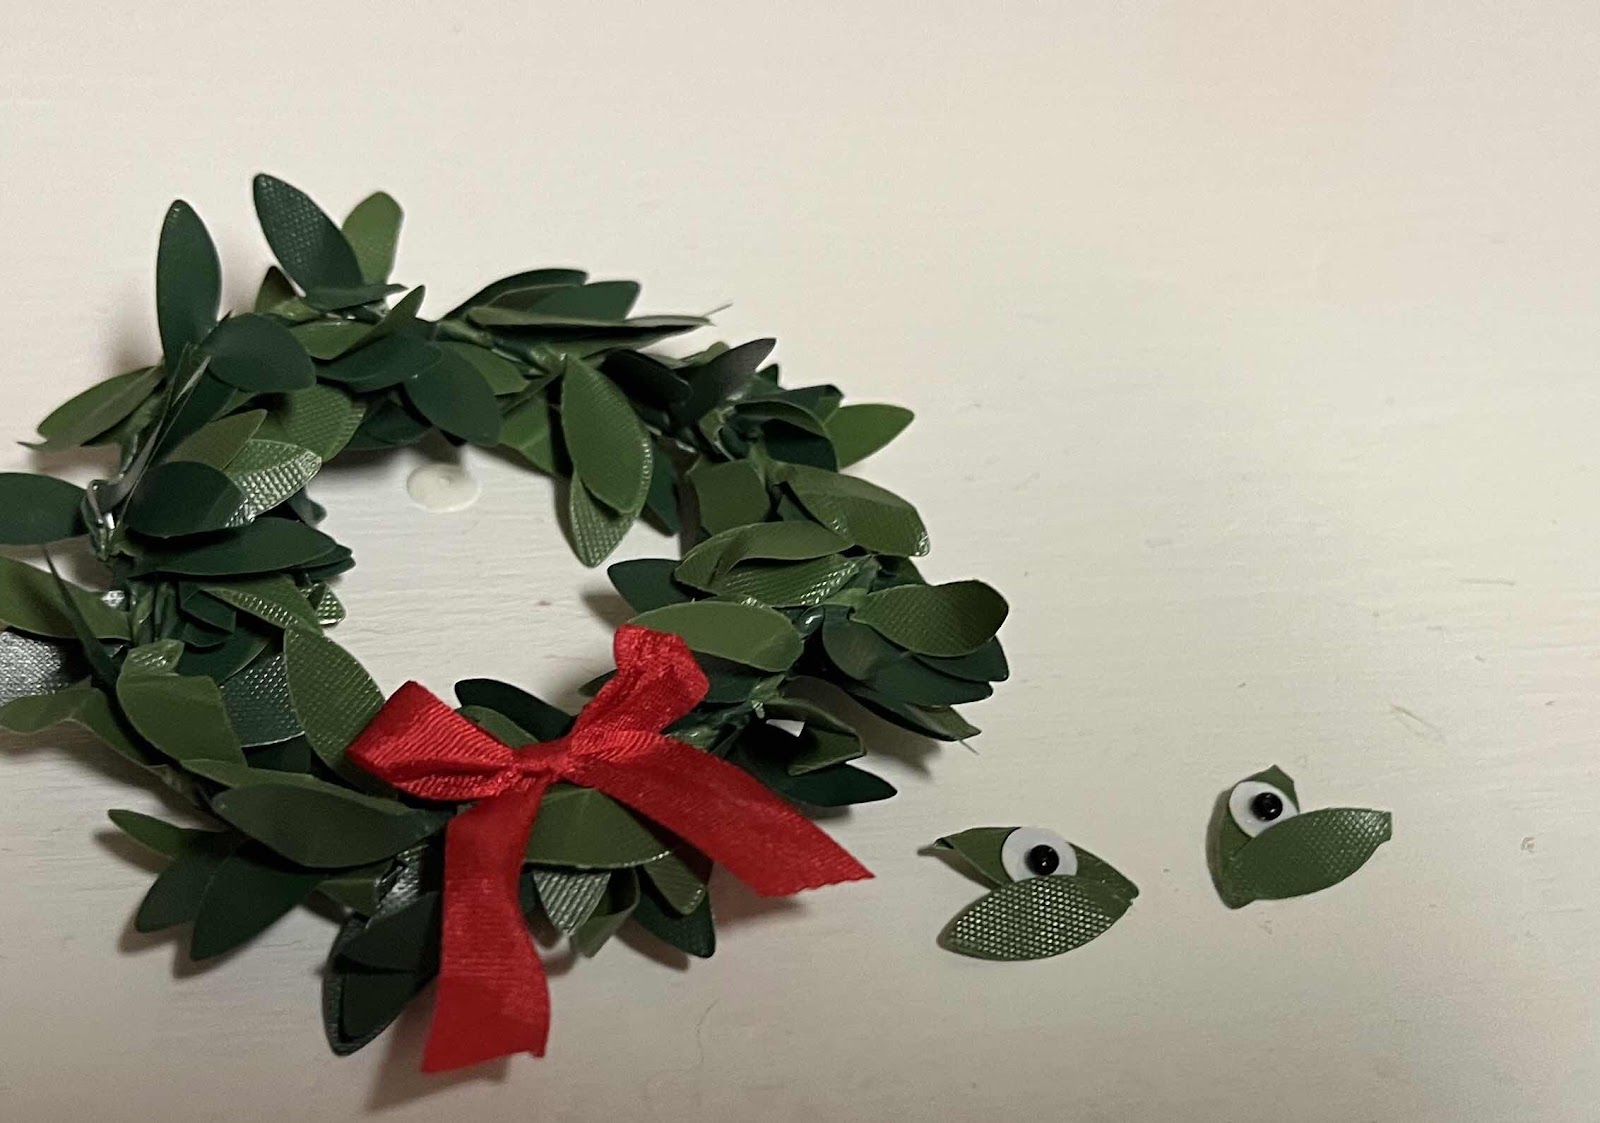
Wrap garland around two fingers, on second round twist around the circle, trim excess 

Make bow from red ribbon and glue to to wreath

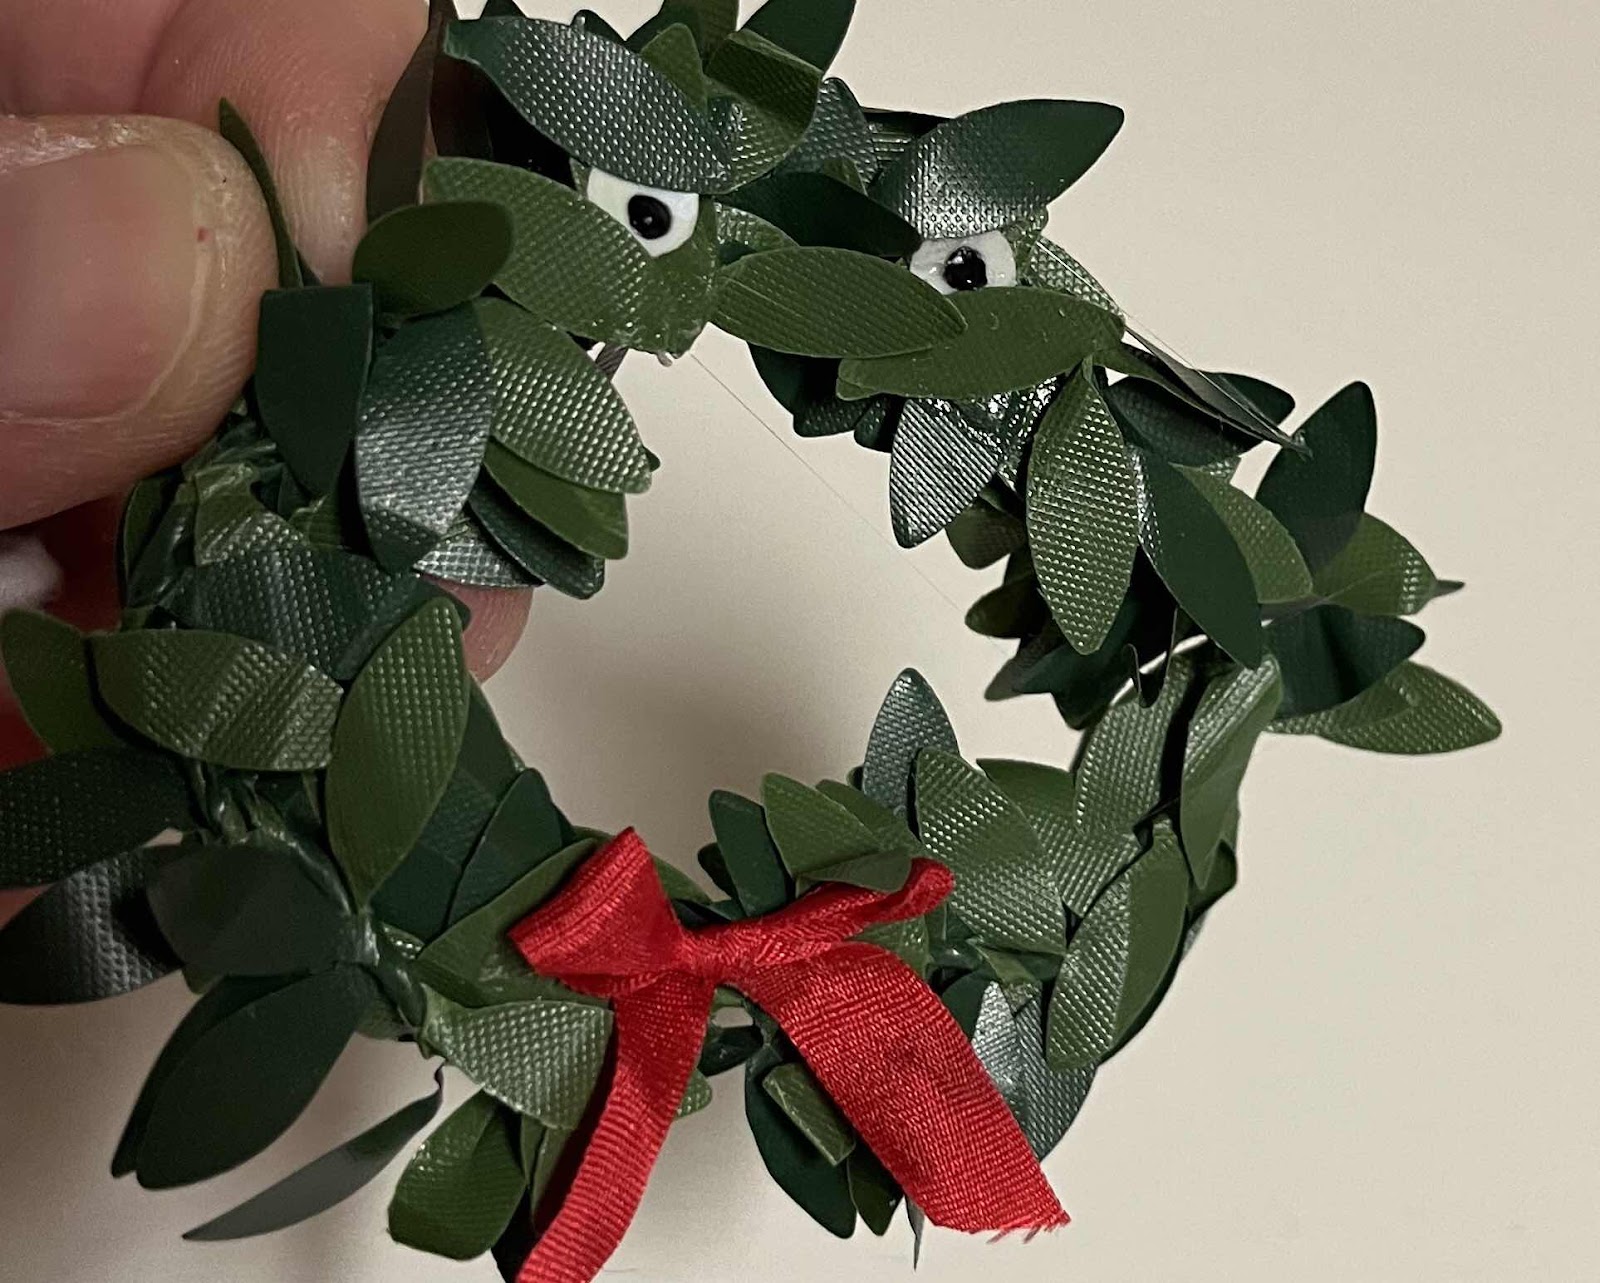
Glue white sequins to each leaf, add small drop of black paint to each sequin, glue a leaf to the bottom of each sequin, then another on top

Glue eyes to wreath


I hope you enjoyed this How-to.  Thanks for stopping by!


Thursday, October 25, 2018

How-to make skeleton faeries

I found several skeleton fairy ideas on Pinterest using supplies purchased from the dollar store.  I made a trip to my local one and found skeleton garland and Halloween butterfly clips- perfect for making faeries! 


Remove garland and butterfly clips from packaging.


Carefully remove wings from clips.

Place skeletons face down on table.

Add two small lines of glue on each side of spine. 

Gently press wings in glue.

Repeat for each skeleton.  Let dry.

Decorate your entryway, staircase, etc.  Thanks for stopping by!

Sunday, October 21, 2018

Keep your feet covered

I really enjoyed reading this story.  Once you read it, you’ll probably think twice before sticking your feet out of the covers...


🎃 Annie writes:

Hi Bumbledaph!

Here is my TRUE Scary Story Submission.

Everyone knows the classic sleeping move of sticking your feet out of the covers, right?  It’s a standard move, but do you know WHY we do it?  Nether did I, until something happened to me while doing this one night.  After this happened to me, I was so terrified.  I never wanted to experience it again.  So, like the rational person I am,  I googled “Why do people stick feet out of covers while sleeping?”  The answer is simple.  Basically, your body naturally gets colder around the time you usually go to bed.  This tells your body that you are ready to sleep.  The bottom of our feet are hairless and are one of the body’s primary cooling mechanisms.  Our feet also contain blood vessels that are designed to dissipate body heat and the vessels are located just below the skins surface.  Therefore if the skin of your feet are exposed to cold air it will eventually cause your entire body to cool down, and after the blood recirculates, your body naturally want to fall asleep.

I get hot when I sleep, so my “life hack” is that I now sleep with my feet under the covers, and a fan on my face to keep me cool.

Here’s why...

It was a typical fall night.  I fell asleep easy.  My son was born a few months earlier so as a typical stomach sleeper, I had been excited to be able to sleep in my favorite position again.  Like a lot of people, I stick my feet out of the covers to fall asleep. (See above.)  The next thing I remember was “waking up” to someone pulling hard on my exposed left foot.  My foot was pulled so hard that I was now positioned halfway down the bed.  I suddenly “woke up” and looked to see who pulled me.  (You know when you are dreaming and then you “think” you wake up from a nightmare only to actually for real wake up later, and realize you were actually still sleeping at the time you thought you were awake?  Yah, that.)  I felt terrified.  Then, I actually (for real, for real) woke up from a deep sleep, heart beating fast.  It was all a nightmare.  I was so scared, but relieved at the same time that it was a dream.  I lifted my head up, glanced at my sweet baby to my right, turned my head to left and looked at my husband.  Both sleeping.  I sighed in relief... for a moment.  And that’s when I noticed that my body was half way down the bed.  My knees were at the bottom of the headboard and my head was half way down the bed.  Maybe I had a bad dream where I was tossing and turning a lot?  I was unsure.  I felt terrified for that moment.  I really can’t describe what I felt next.  For some reason I immediately knew -most definitely  that it was a woman that had pulled my leg.  All of a sudden I felt calm, and also knew (although not sure how ) that I was not threatened.  It felt like more of a prank.  My mind went right to “Nan” My Grandma, ”Nanny”.  She always made me feel like I was her favorite.  She always understood me.  I was so blessed to see her on one of her final days.  I told her "Hi Nan, it’s Annie. I love you. I’m your favorite, right?  I swear I saw her smile, nod and tear up.

Was this all a harmless prank played by Nan?  Or was it an evil entity trying to sabotage my faith?  Guess I’ll never know for sure.  In the mean time, I choose the latter.  Chicken Soup for the Soul or Bumbledaph Blog?  Easy - Bumbledaph!

...Just in case I’ll continue to sleep with my feet in the covers and a fan on my face, and I advise you to do the same.

Thanks again for your story!

Now it’s time to share one of yours.  E-mail bumbledaph@gmail.com.

Monday, October 15, 2018

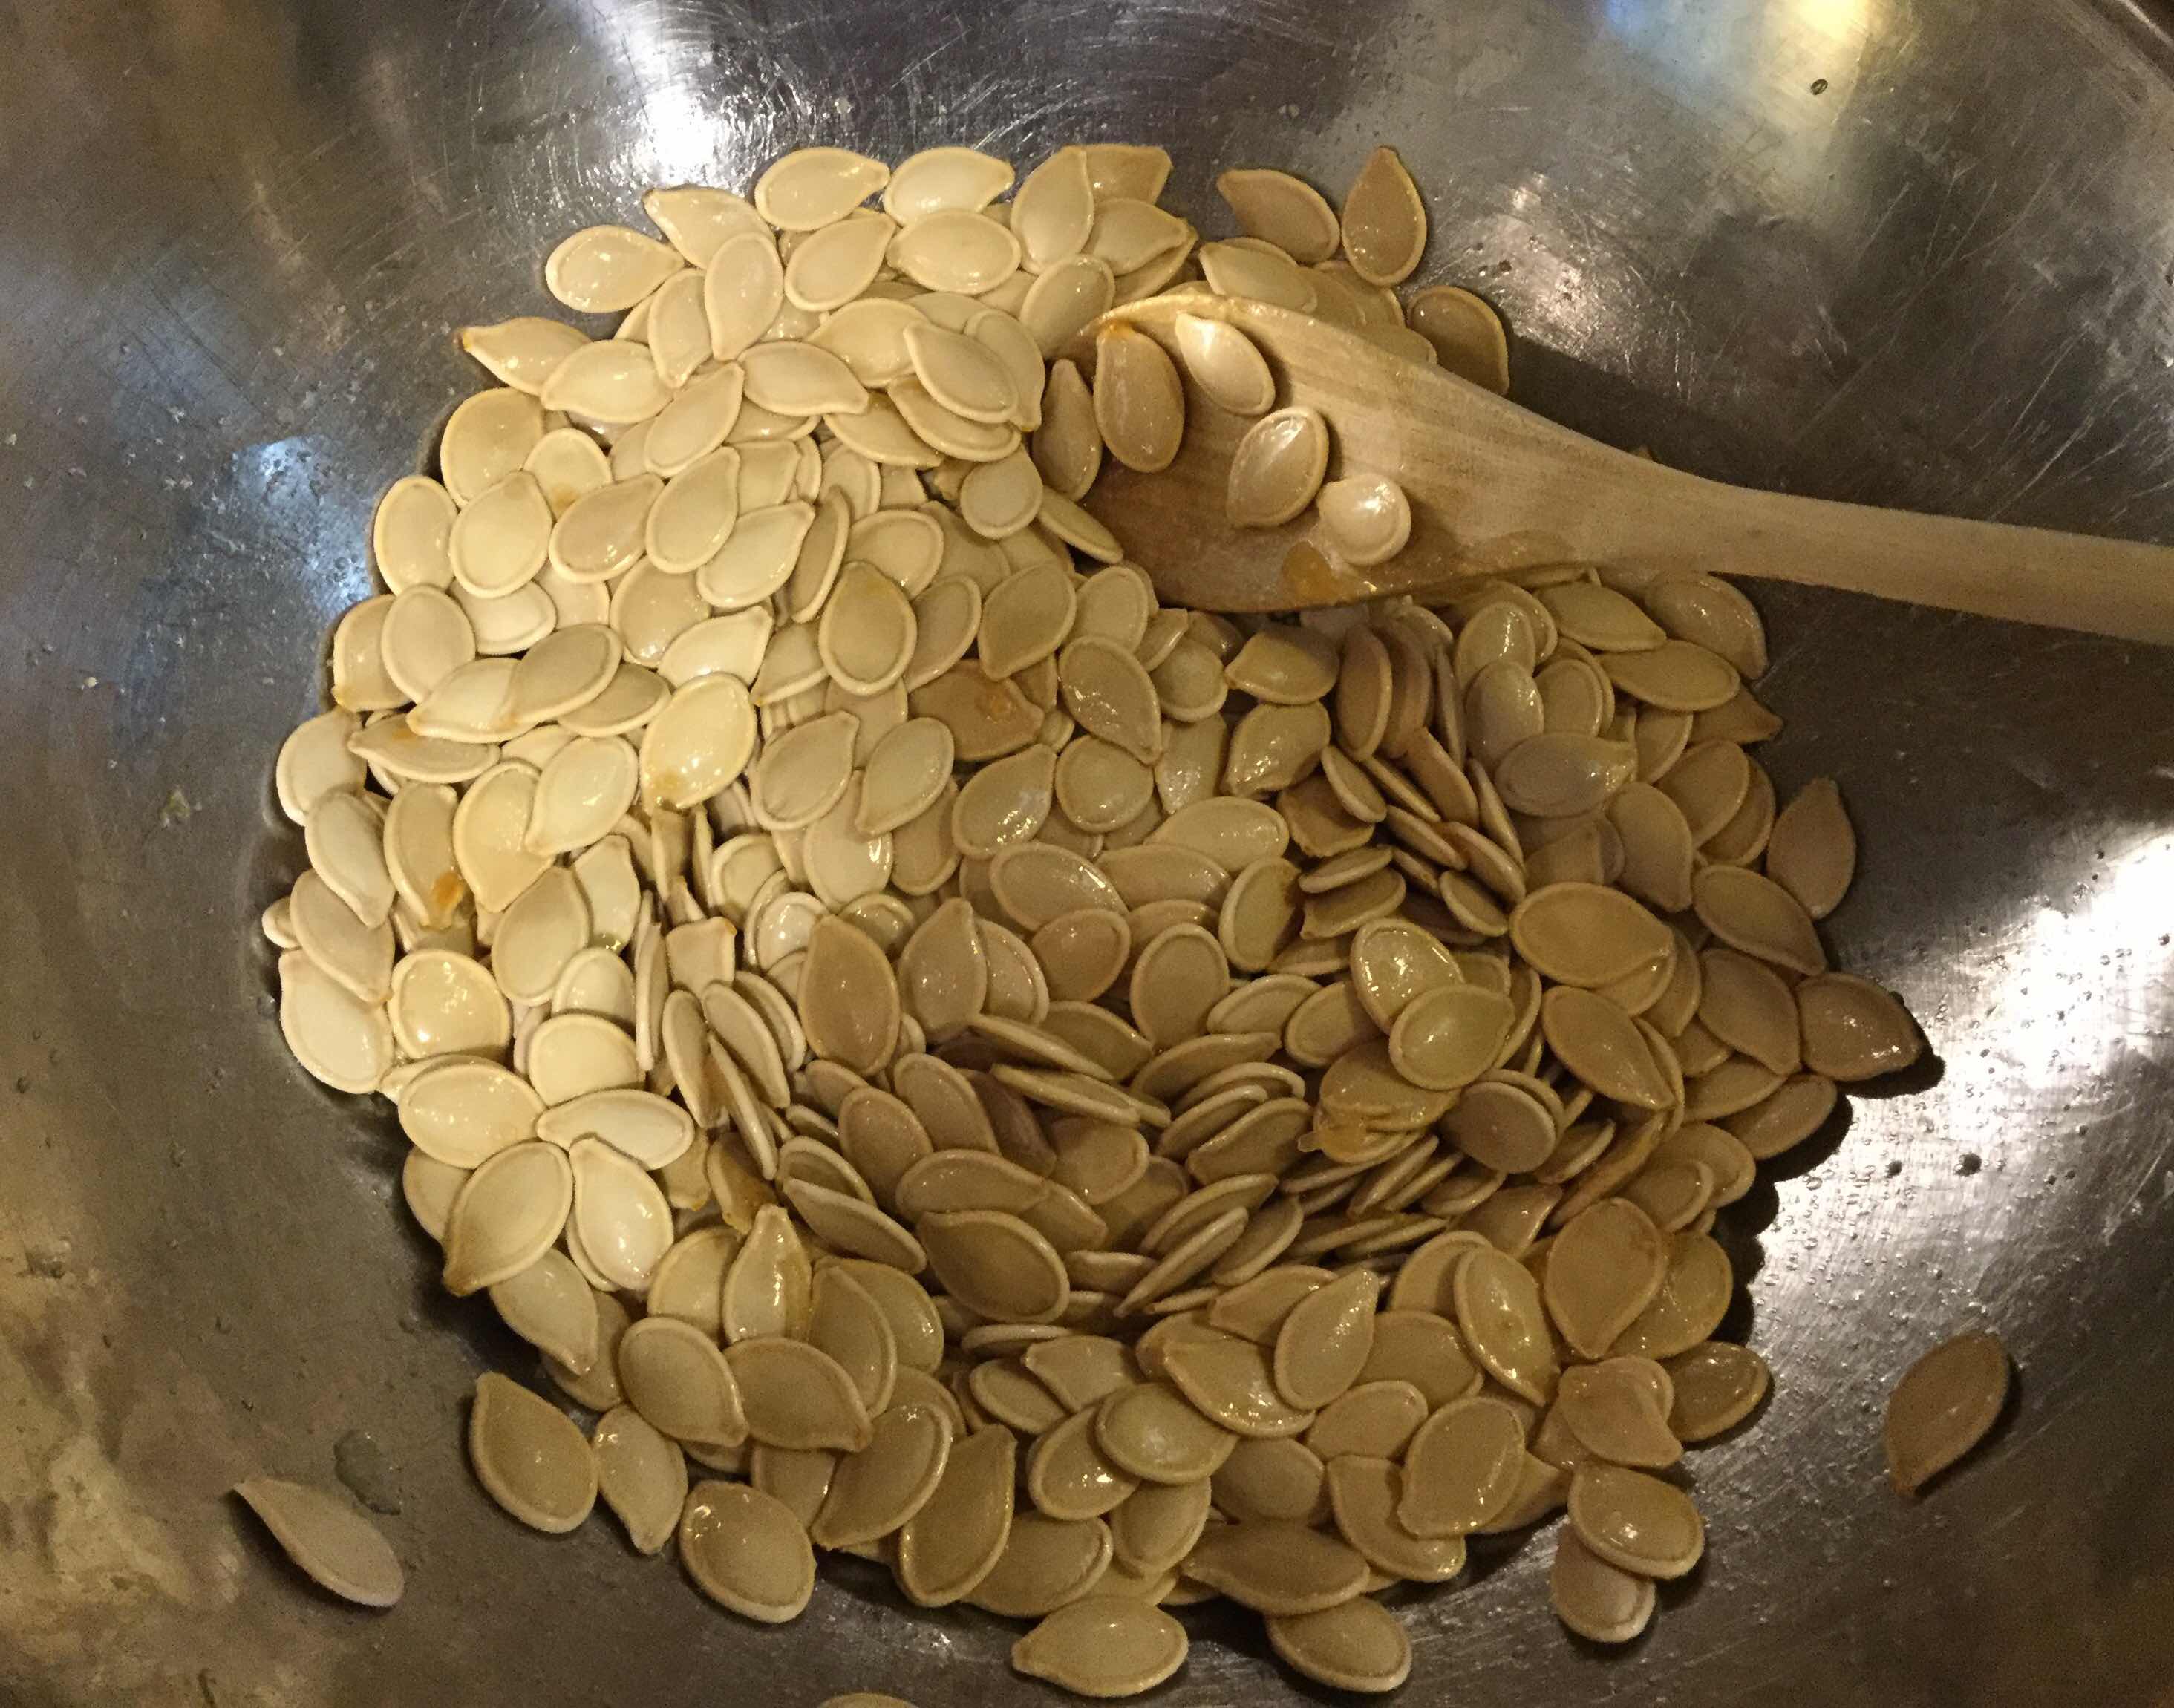
How-to roast pumpkin seeds

Preheat oven to 350 degrees.


Rinse seeds in cold water to remove excess pumpkin insides, leaving a small amount on seeds for flavor or rinse pumpkin insides off the seeds completely.


Return seeds to bowl.


Lightly drizzle seeds with olive oil, then sprinkle salt and garlic powder to taste.  Stir seeds to blend. 


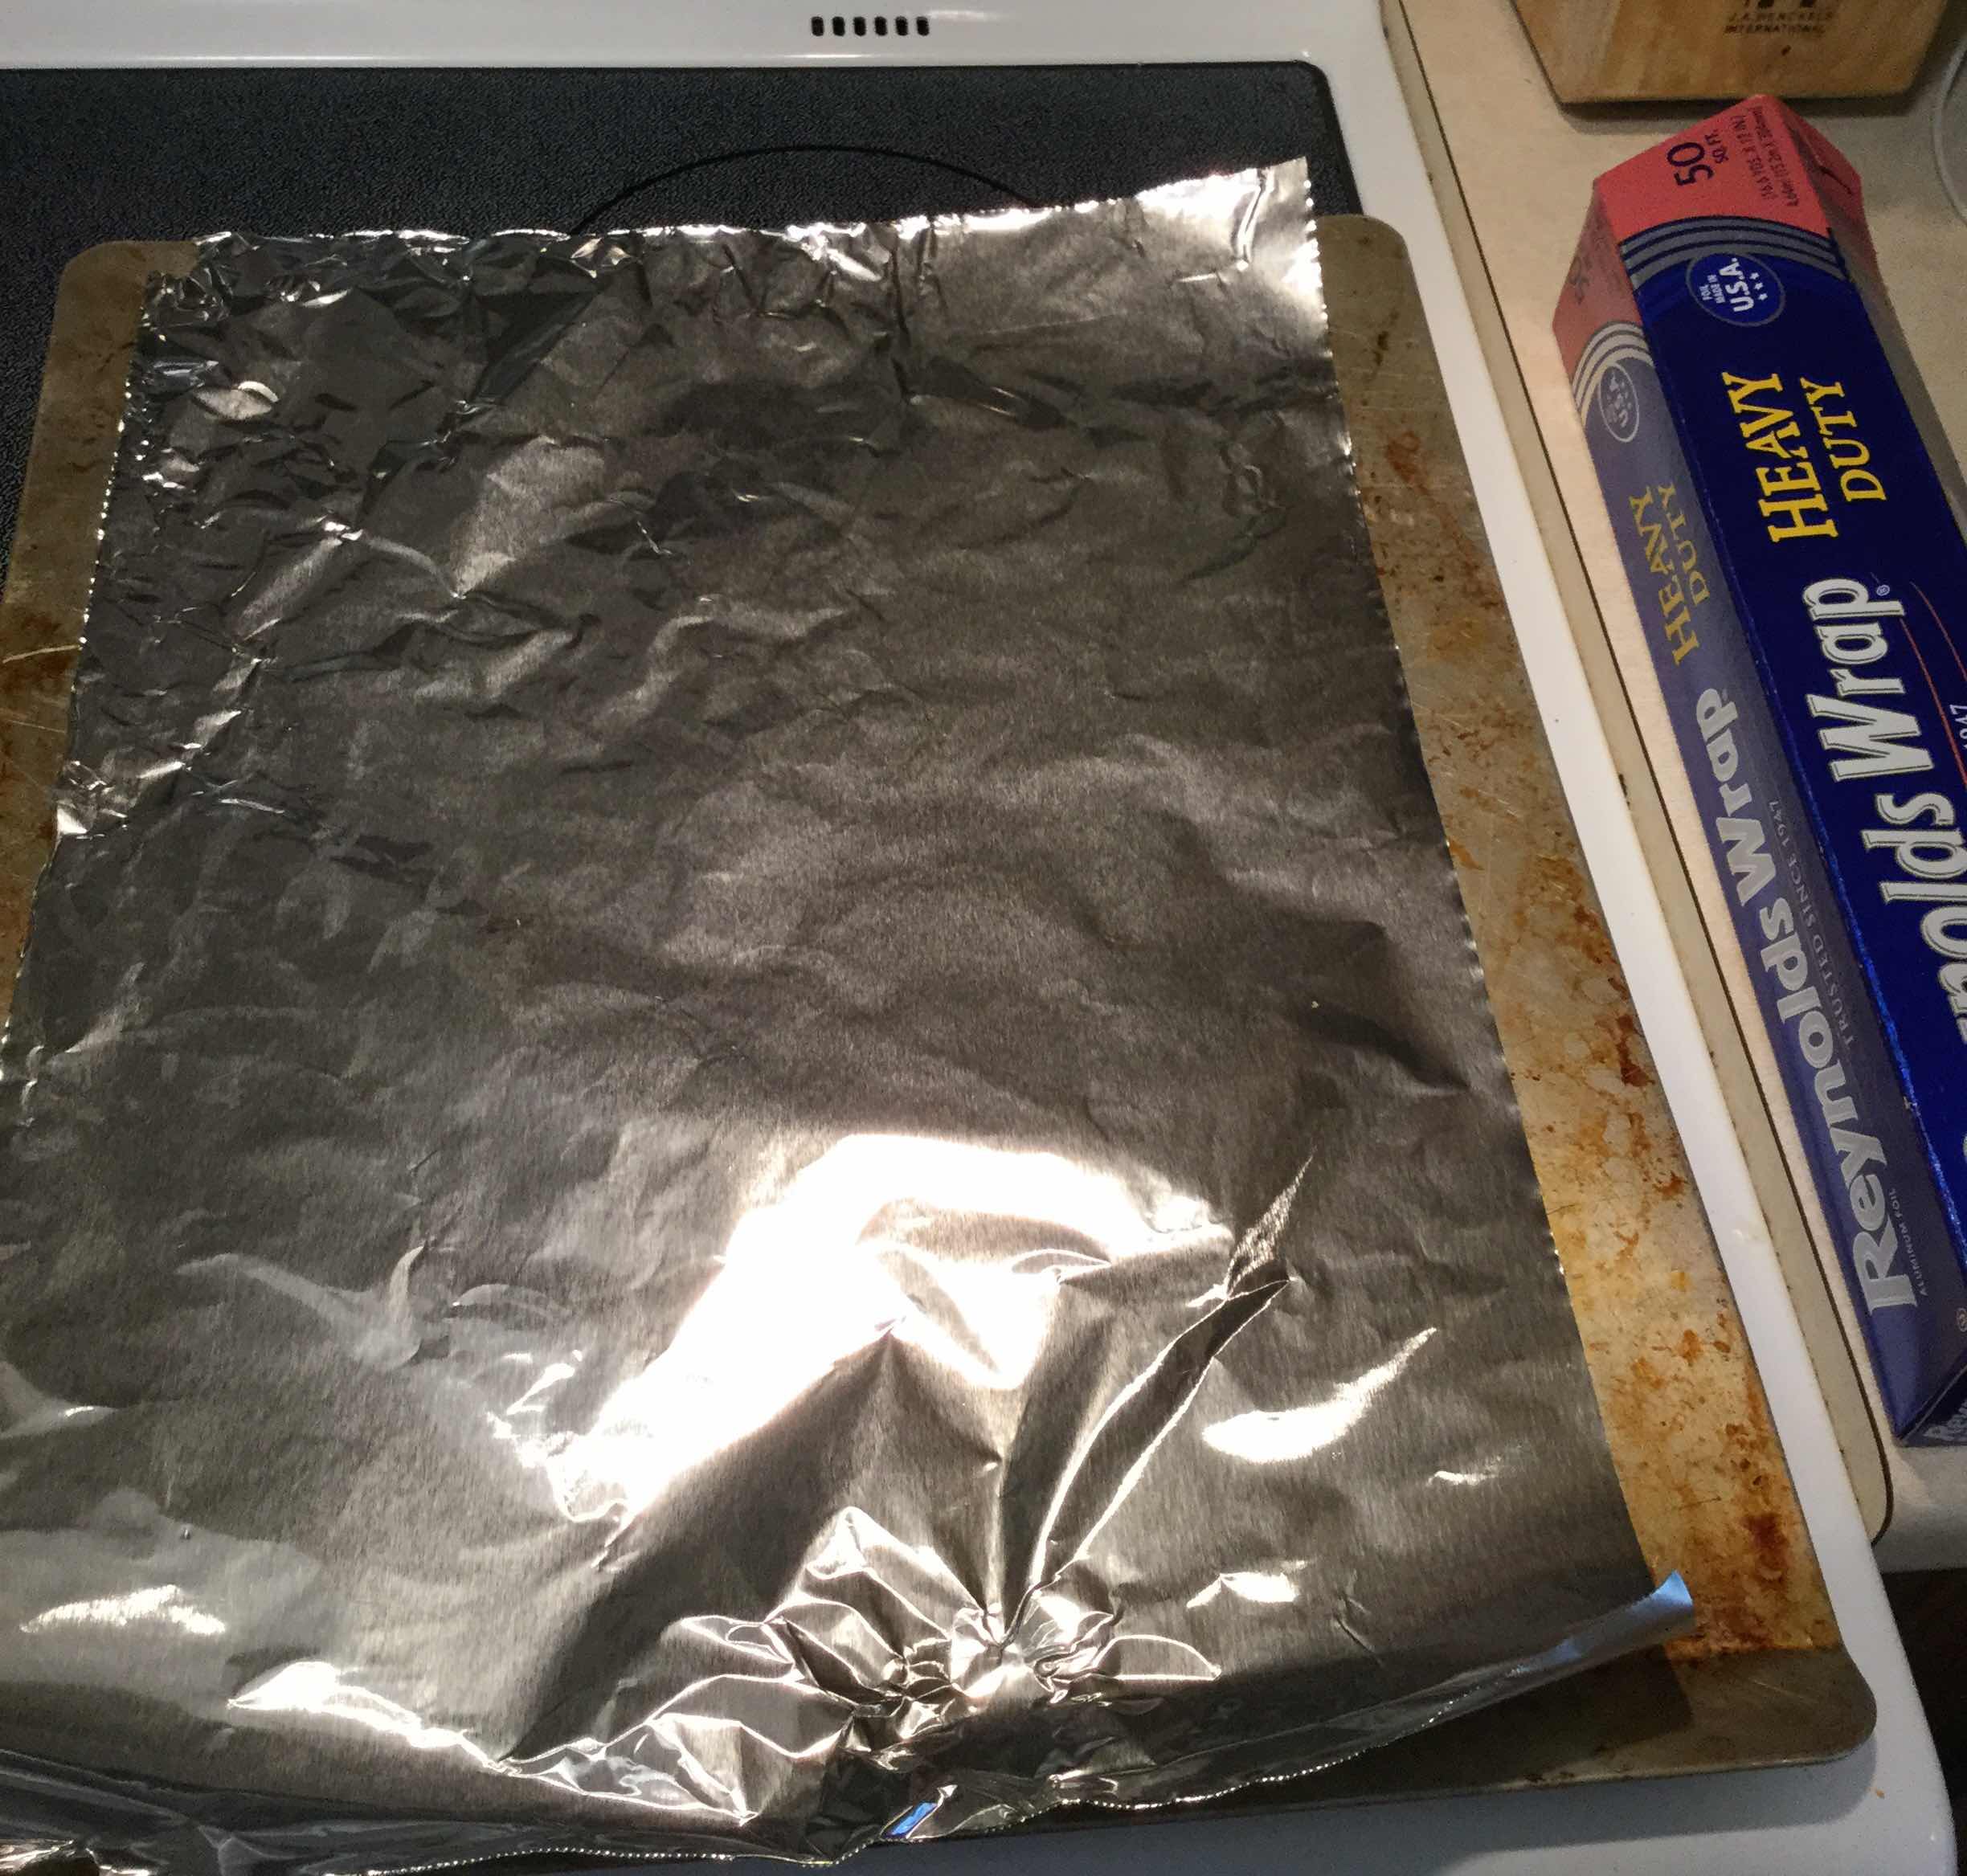
Cover a cookie sheet with aluminum foil.


Spread a single layer of seeds across the cookie sheet.  Sprinkle a little more salt and garlic powder over the top of seeds.


Place in oven, taking out to flip seeds every 15 minutes and sprinkling a little more salt and garlic powder over the top of seeds.  Roast until seeds are golden brown (seeds from 2 large pumpkins took about 45-50 minutes).


Remove seeds from oven and transfer to bowl.  Taste and add more salt if needed.


🎃 Enjoy!

Sunday, October 14, 2018

How-to carve a Stranger Things pumpkin

I 💜 Stranger Things and hope you enjoy this 🎃 tutorial!

Supplies: 
Large pumpkin
Pumpkin carving tools
Battery operated mini LED coil indoor / outdoor lights
Pins
Candles

Cut a circle around the top of the pumpkin.  Take off the top and scoop out the insides. 

Save the seeds to roast.  Stay tuned for a How-to.

Google search Stranger Things Alphabet.  Set to the side of the pumpkin as an example.

Use a pen to draw the letters on your pumpkin.

Carefully carve each letter.

Don’t cut completely around letters like P, Q, R, etc.  You need to leave a few areas to hold the center in place. 


Wipe the outside of the pumpkin with a towel.


Push pins above each letter (don’t push all the way in).  Take lights and wrap the coil around each pin, then push the pin the rest of the way in the pumpkin. 


Place a candle inside, then put the top back on the pumpkin.


Thanks for stopping by!

Monday, October 30, 2017

Dark road

This story really frightened me because I do not like driving on desolate roads late at night. Thank you A.E. for sharing your story. Enjoy this scary tale! 

A.E. writes: 

This happened over 25 years ago. I was driving home from church through a rural area late one night. It was pitch black. Just as I was making a turn through a wooded area, a pack of wild dogs ran out of the woods and straight for my car. They jumped on the hood of my car, teeth thrashing, biting wildly at the metal. As soon as I was able to pick up speed, the dogs jumped off my car and ran back into the woods. I was absolutely terrified. I have come to the conclusion that the dogs either had rabies or were possessed. I believed it to be the latter.

Sunday, October 29, 2017

How-to carve a pumpkin using a kit


Purchase a pumpkin and a carving kit. I bought this Pumpkin Masters kit at Walgreens. 

Pick a pattern. I decided to use the Trick Or Treat pattern. 

Cut the top off your pumpkin and set aside. 

Pull out the pumpkin guts.

Use the scooper from the kit to scrape out the inside of the pumpkin. 

Tape the pattern on the pumpkin.

Poke holes using the tool from the kit staying within the lines.

After you are done remove the pattern.

The pattern is now visible. Time to carve your pumpkin! 

Follow the instructions on the carving order. 


The smaller parts of the pattern were carved first. 

Finish carving your pumpkin. 

Put battery operated lights in a jar. Place inside the pumpkin and put the top back on. 

Done! 

Thanks for stopping by!